Routing Home Network Traffic with ShellClash on a Xiaomi AX1800
Originally published in Chinese on 2022-01-18; this English edition preserves the original scope and technical context.
This post explains how to use ShellClash for over-the-air surfing on a Xiaomi AX1800.
1 Firmware Downgrade
Download the Xiaomi AX1800 Firmware v1.0.336
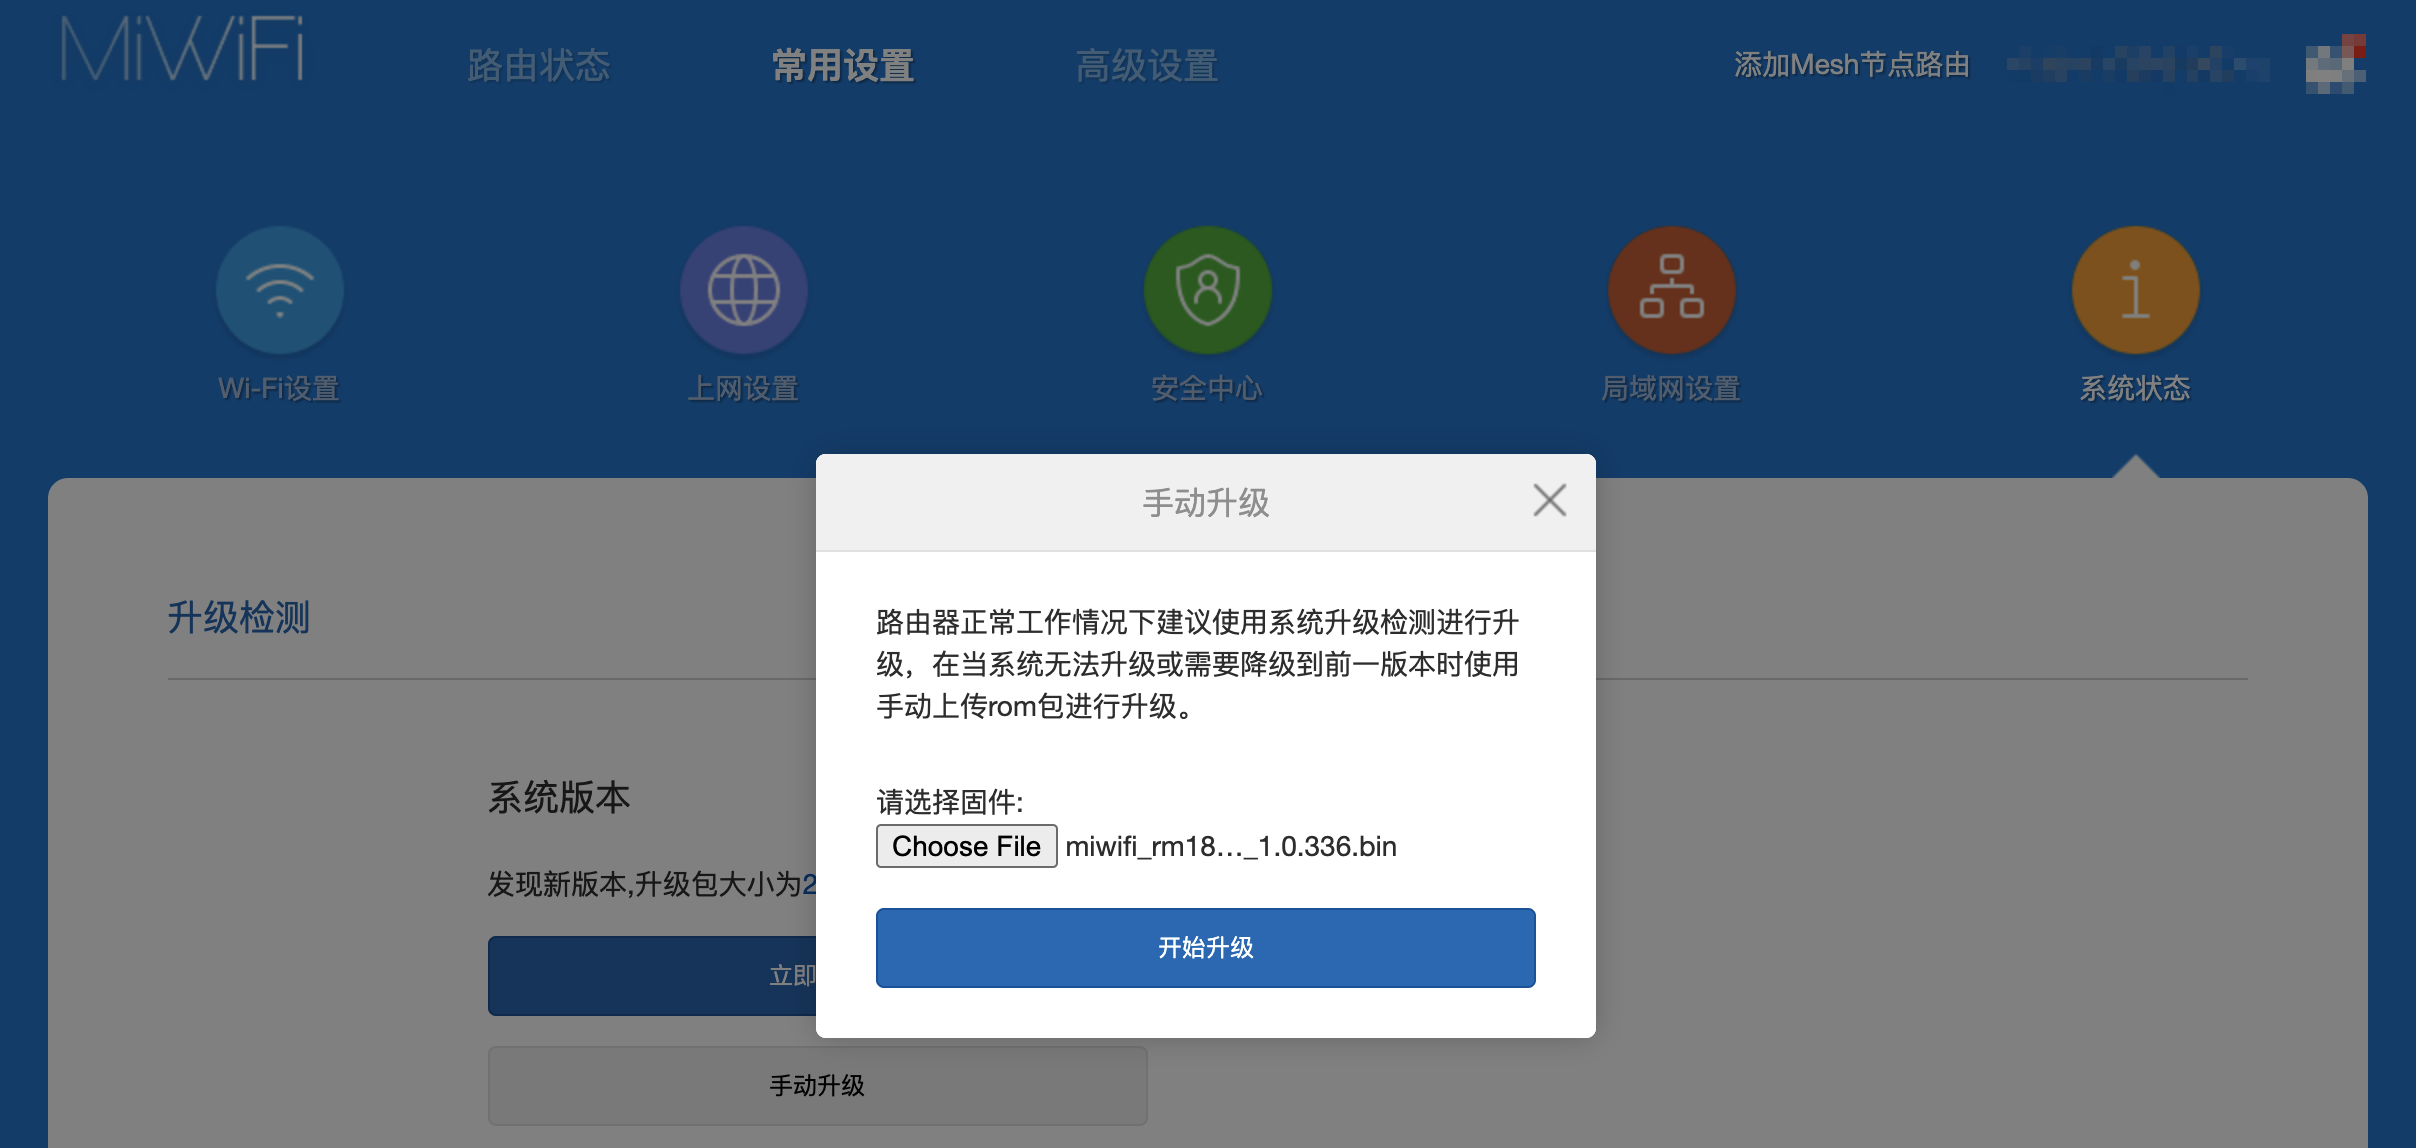
In the MiWiFi backend, under the Common Settings -> System Status, click Manual Upgrade and use the v1.0.336 firmware to downgrade the router. No additional operations are required during this process.
After the first configuration, choose Do not Auto-update or disable the Auto-update feature in the MiWiFi mobile app.
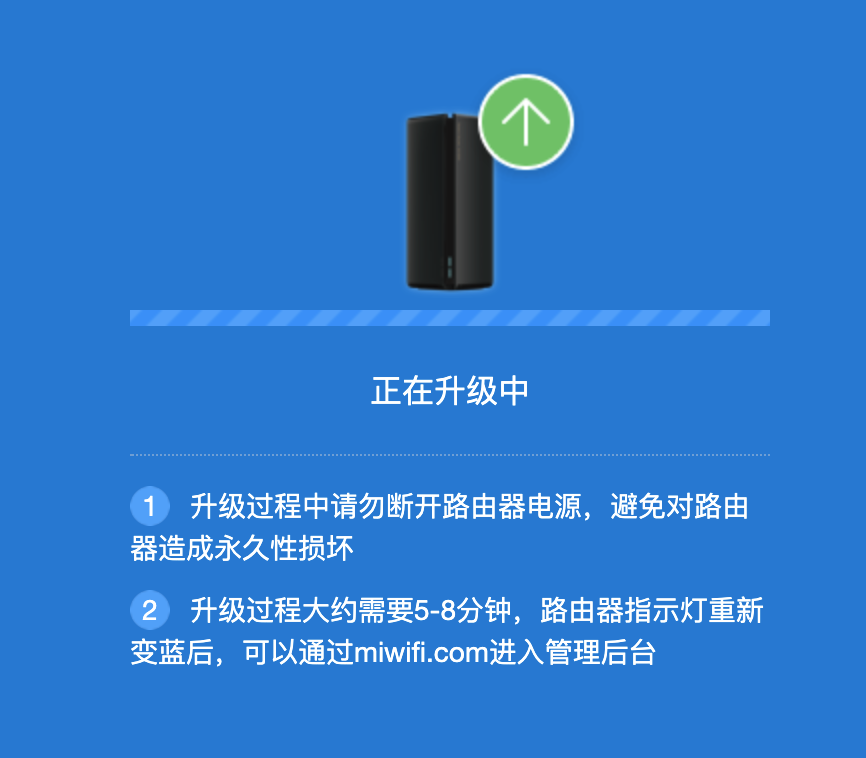
After the update, the router will reset to the settings on the bottom sticker.
2 Unlock SSH
First, log into the Xiaomi router’s backend at 192.168.31.1. Copy the part after stok= in the browser address bar.

Obtain SSH Permissions
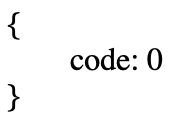
Open a new tab in the browser and enter the following link in the address bar. Replace the stok=...... part with the copied content. If the page displays {"code":0}, it means the operation is successful, unlocking SSH access to the router.
http://192.168.31.1/cgi-bin/luci/;stok=....../api/misystem/set_config_iotdev?bssid=Xiaomi&user_id=longdike&ssid=-h%3B%20nvram%20set%20ssh_en%3D1%3B%20nvram%20commit%3B%20sed%20-i%20's%2Fchannel%3D.*%2Fchannel%3D%5C%22debug%5C%22%2Fg'%20%2Fetc%2Finit.d%2Fdropbear%3B%20%2Fetc%2Finit.d%2Fdropbear%20start%3B
Modify root Password
Open a new tab in the browser and enter the following link in the address bar. Replace the six dots in stok=...... with the copied content. If the page displays {"code":0}, the change is successful, meaning the router’s root account password has been changed to admin.
http://192.168.31.1/cgi-bin/luci/;stok=....../api/misystem/set_config_iotdev?bssid=Xiaomi&user_id=longdike&ssid=-h%3B%20echo%20-e%20'admin%5Cnadmin'%20%7C%20passwd%20root%3B
Connect via SSH
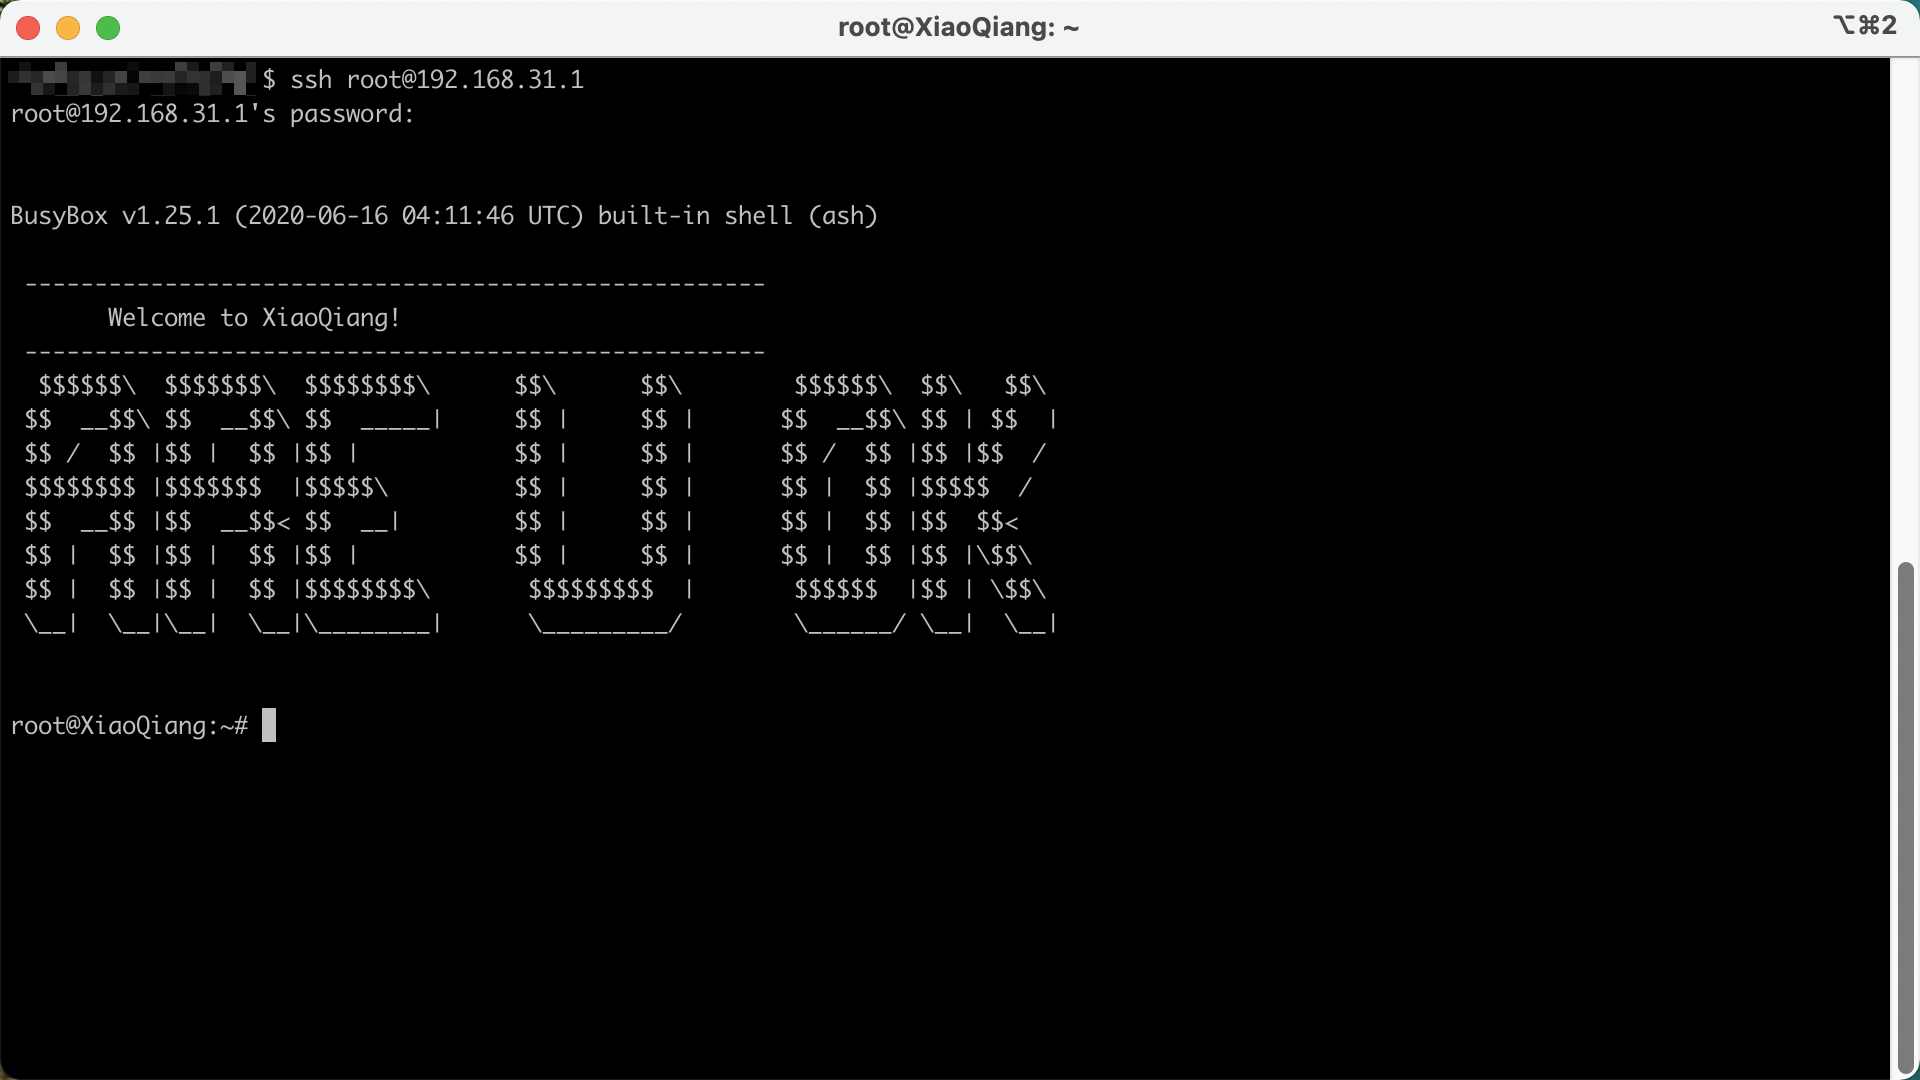
Open your terminal or PowerShell and SSH into the router’s root account. The password is admin.
ssh root@192.168.31.1
If the error message is Unable to negotiate with 192.168.31.1 port 22: no matching host key type found. Their offer: ssh-rsa, then you need to specify the HostKeyAlgorithms for SSH.
sh ssh username@192.168.31.1 -o HostKeyAlgorithms=ssh-ed25519@libssh.org,ssh-rsa
ssh -o HostKeyAlgorithms=+ssh-rsa -o PubkeyAcceptedKeyTypes=+ssh-rsa root@192.168.31.1 -p 22
3 Using ShellClash
Installation
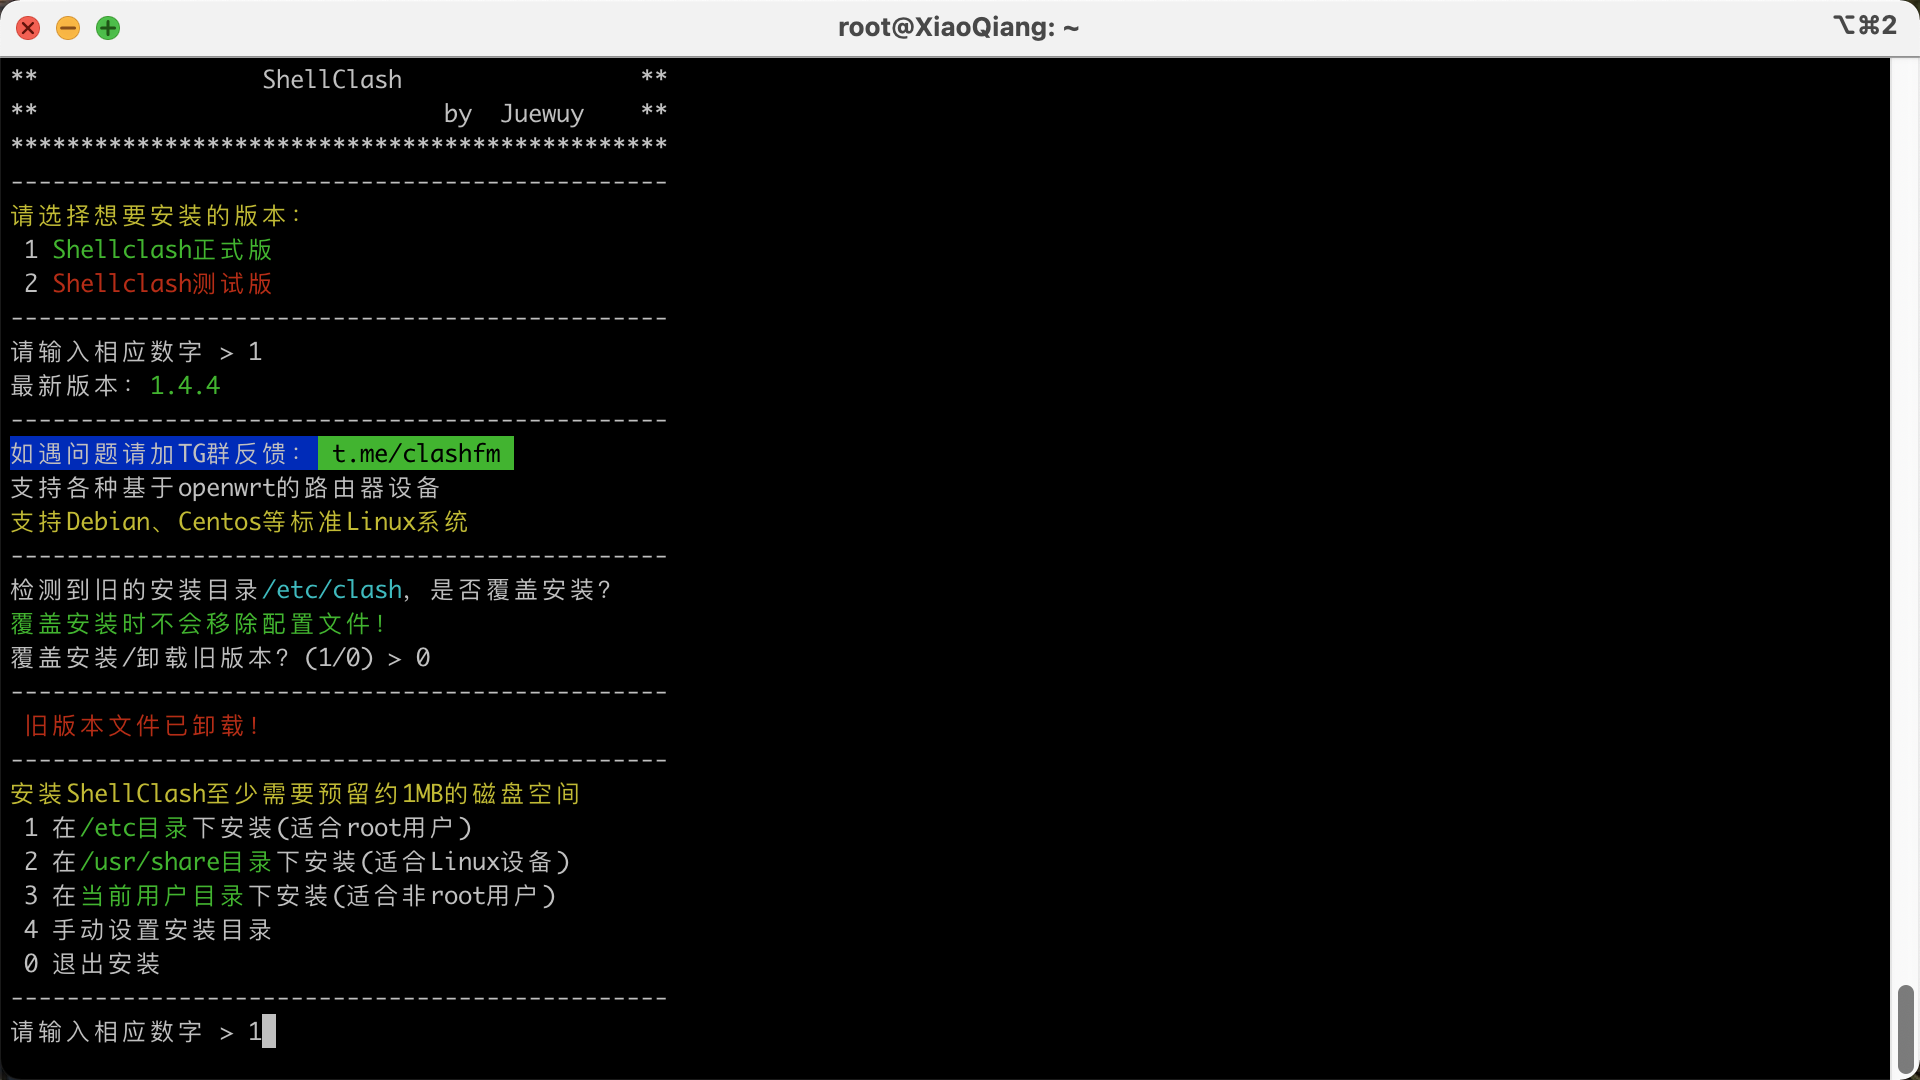
SSH into the router, and input the following command to install ShellClash.
sh -c "$(curl -kfsSl https://cdn.jsdelivr.net/gh/juewuy/ShellClash@master/install.sh)" && source /etc/profile &> /dev/null
Choose to install to /etc directory.
Configuration
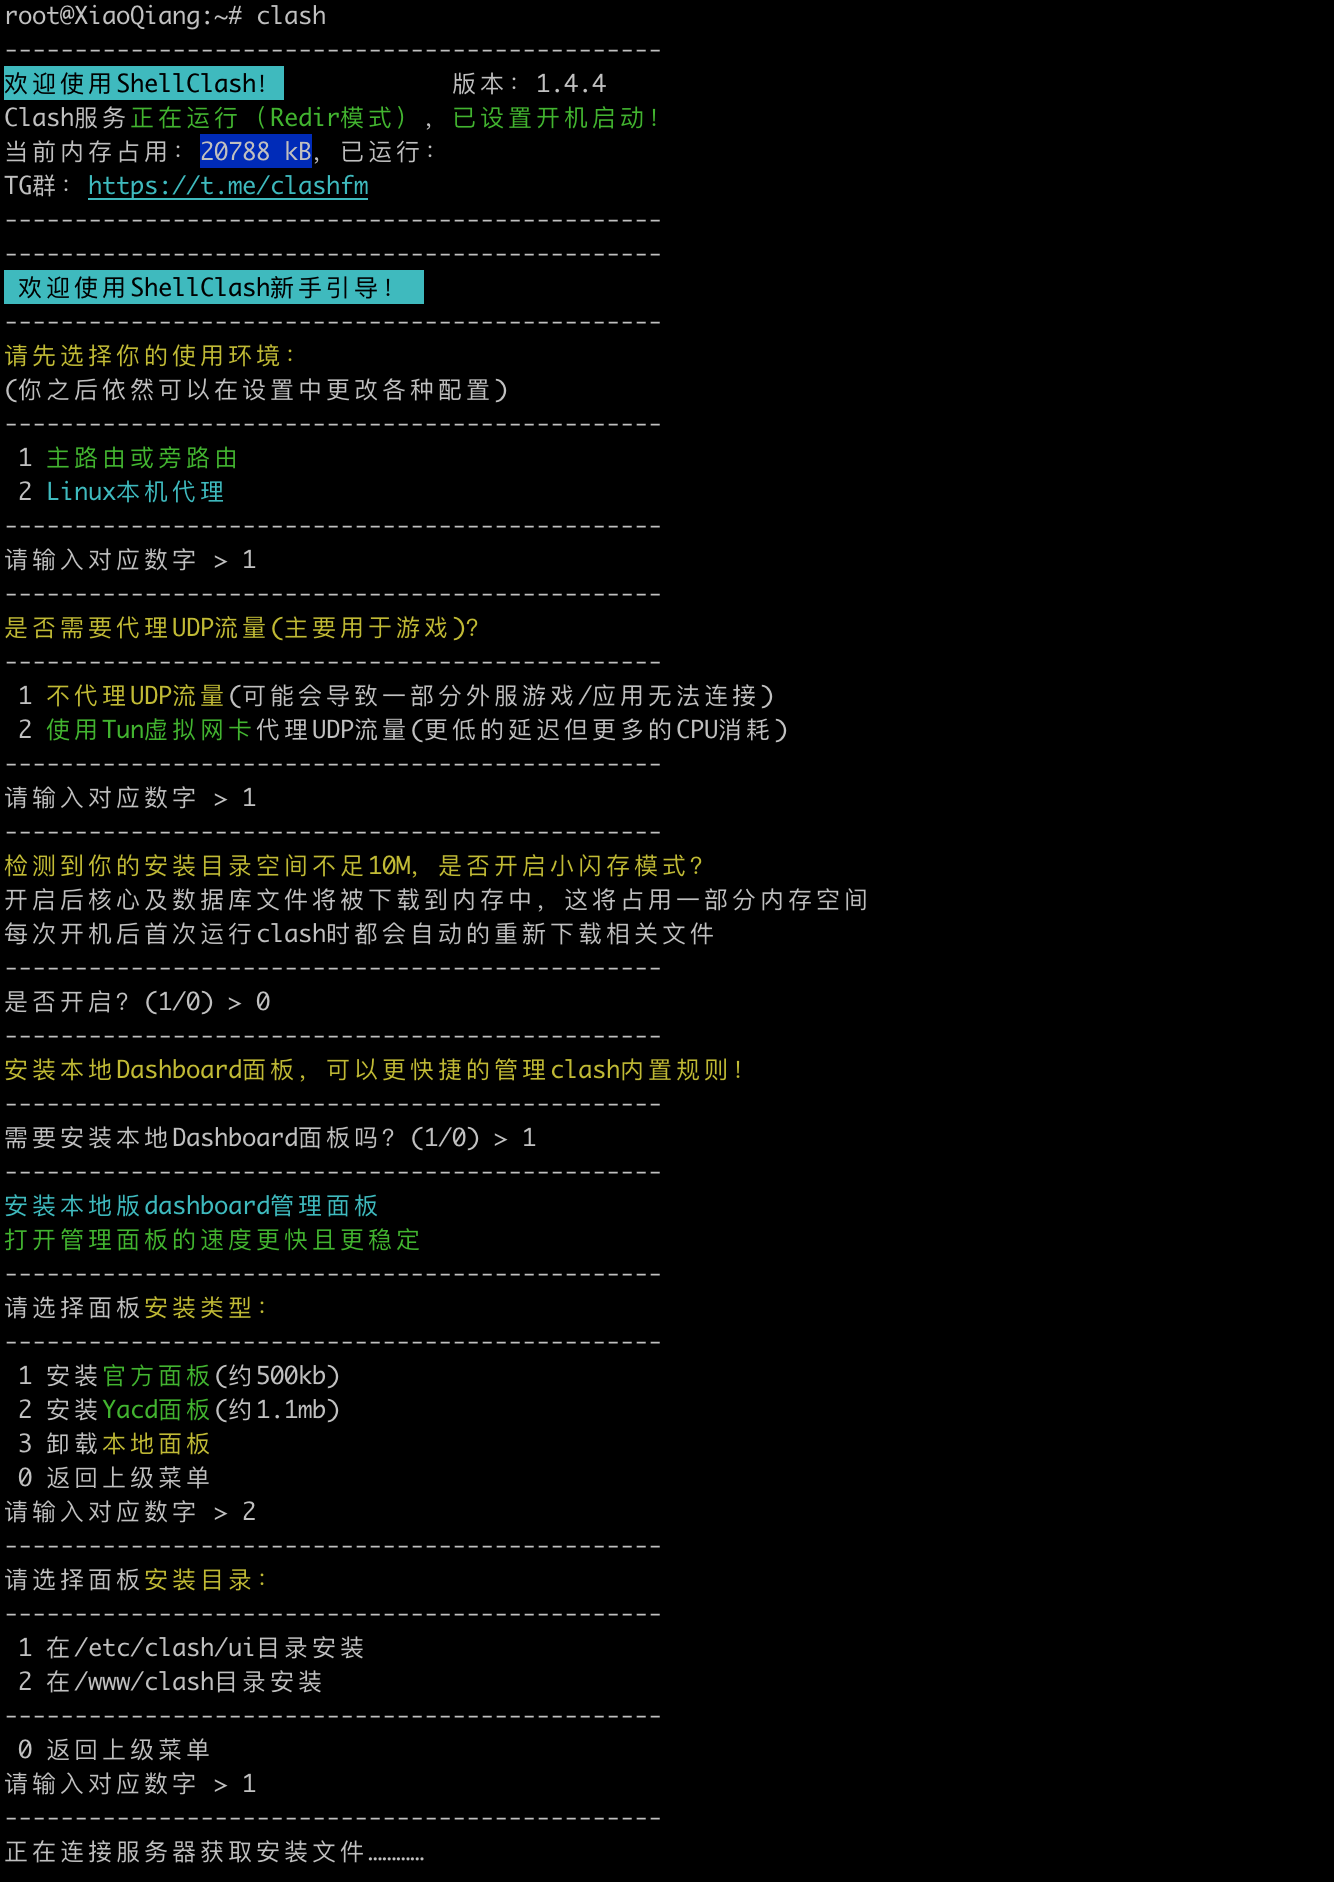
After installation, input the clash command for related configurations. Choose either 1 main route or side route to ensure that all local network traffic passes through the ShellClash client.
UDP traffic and dashboard panels are selected as needed, then wait for clash core and GeoIP database downloads to complete.
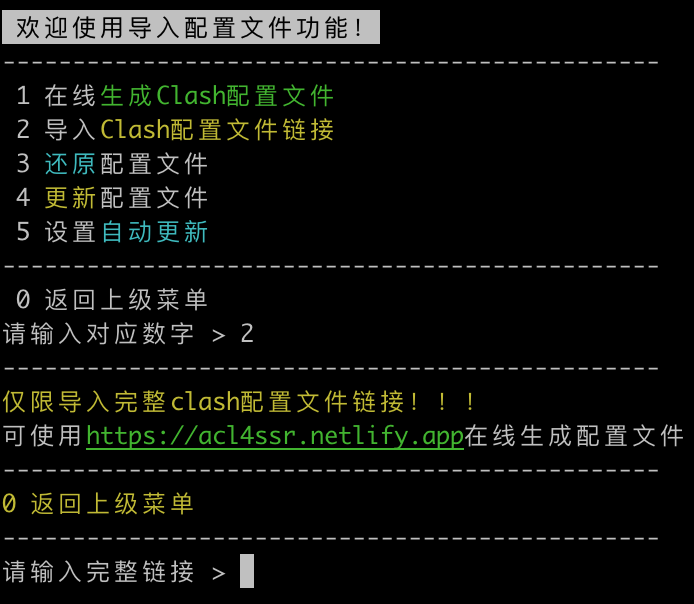
Next select ‘1’ to start importing the configuration file. If you have a Clash subscription link, select ‘2’ to generate the Clash configuration file and then paste the URL; otherwise, select ‘1’ to directly import.
Finally, select 1 to start the Clash service.
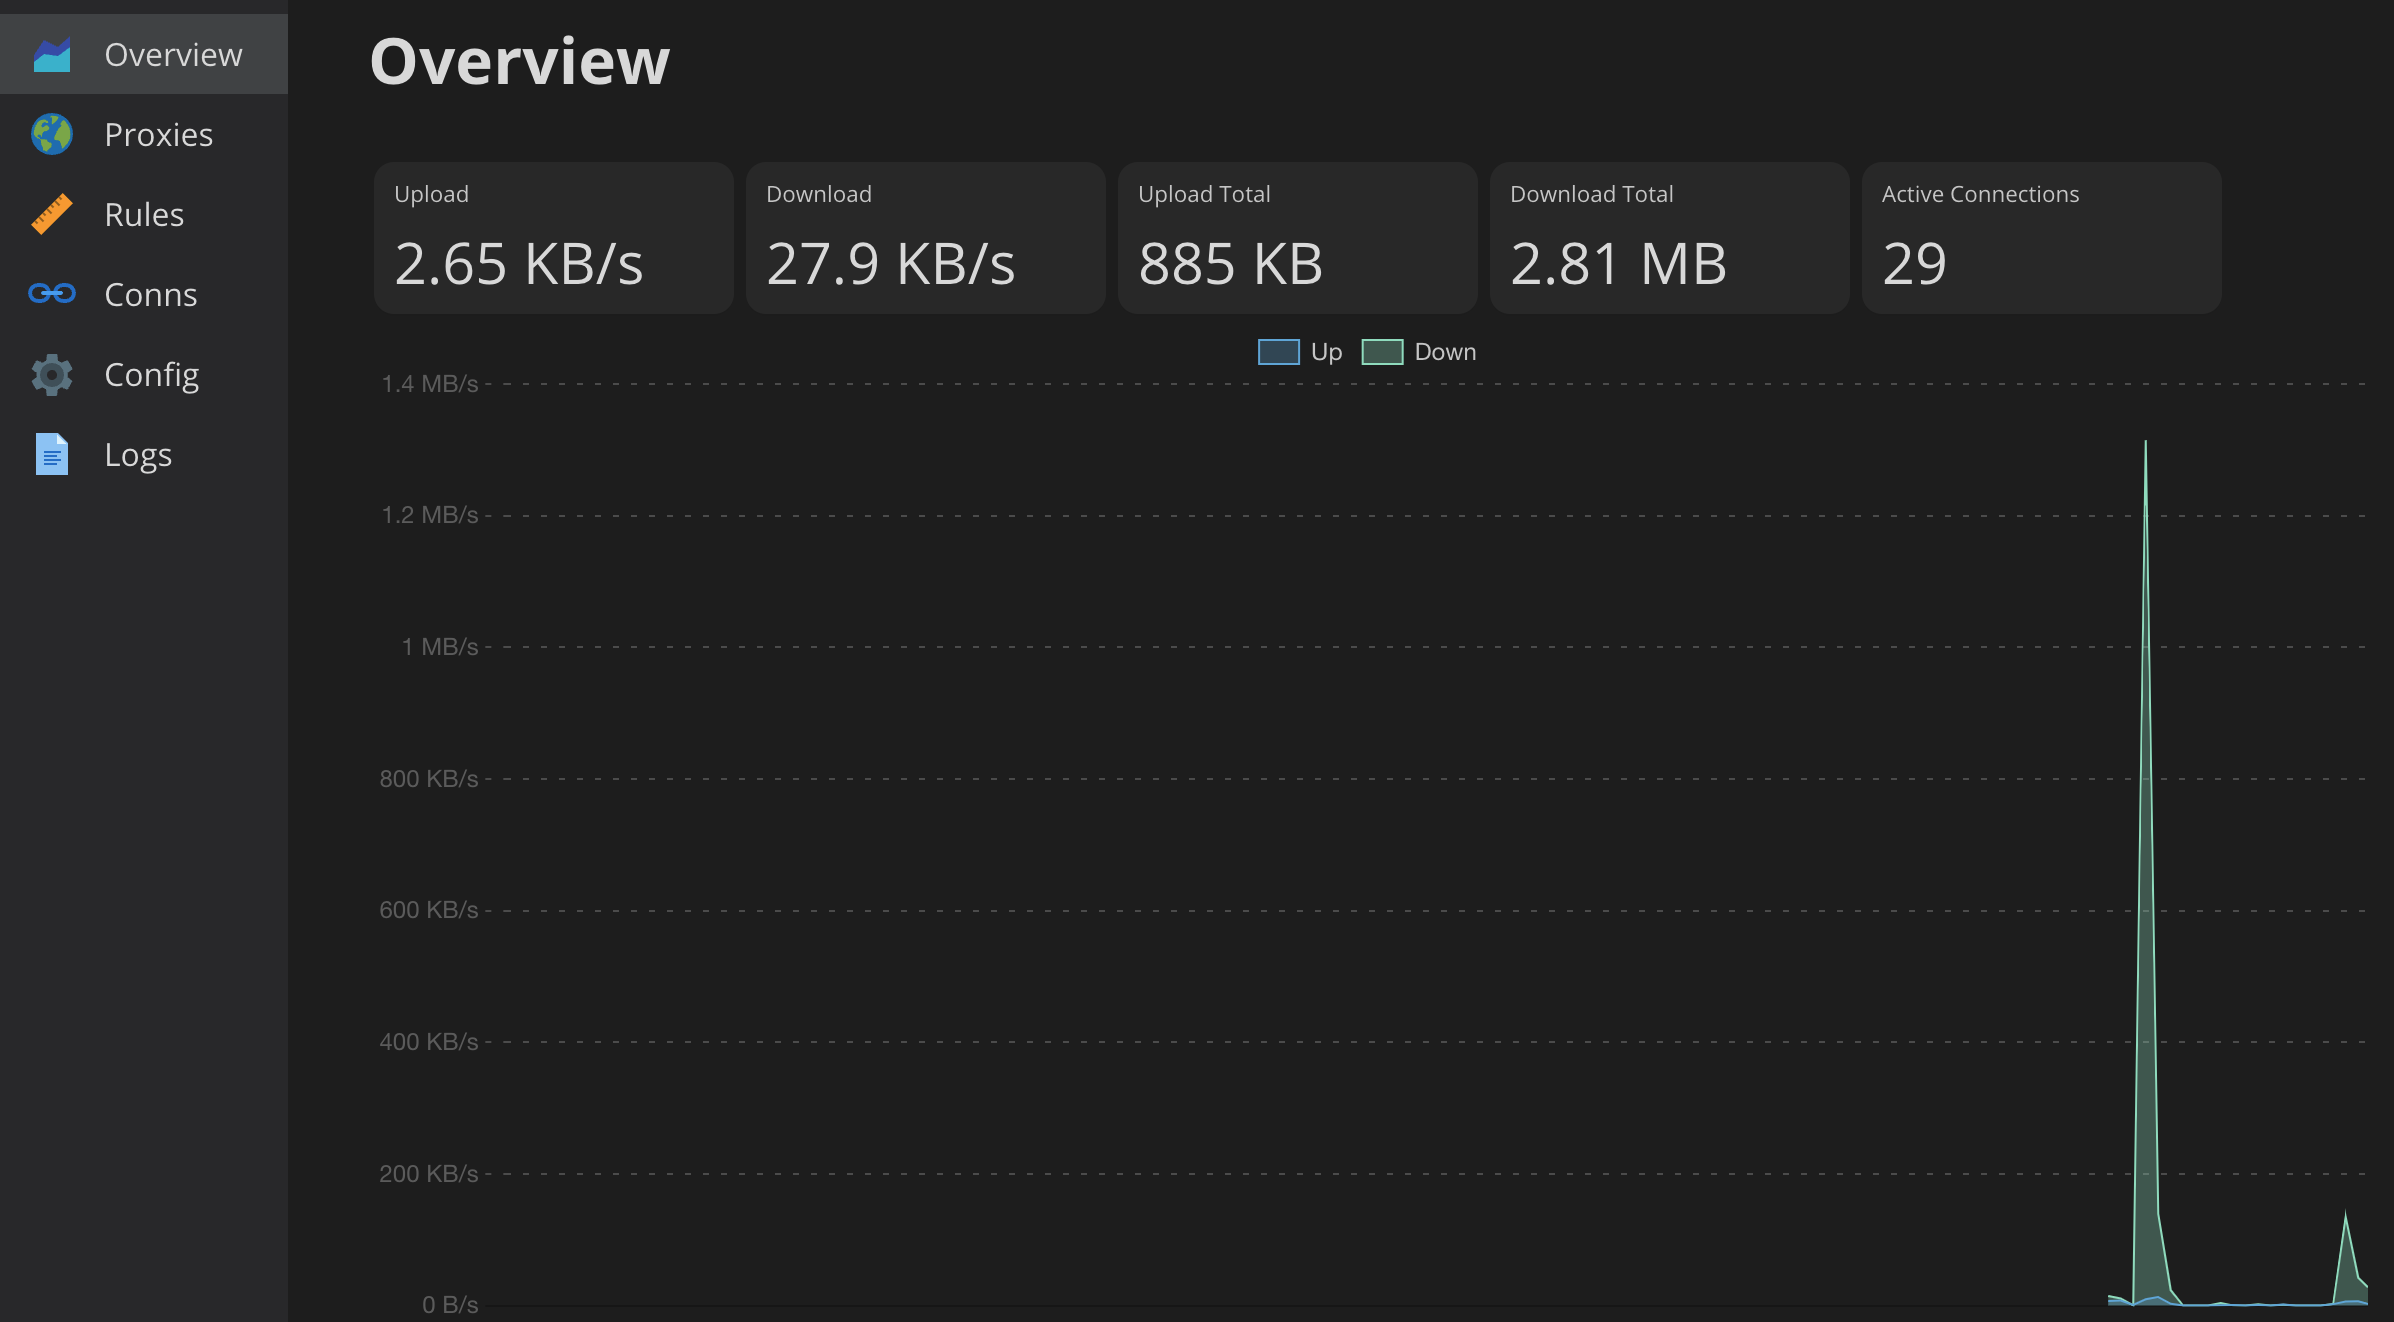
After the startup, run clash again and select option 4 to allow automatic startup. This way, Clash will not need to be manually restarted via SSH every time the router reboots. Additionally, you can access the UI at http://192.168.31.1:9999/ui within the local network to modify nodes and rules.